-
[ Flutter ] TextField 사용 및 StyleApplication/Flutter 2024. 7. 20. 17:18반응형

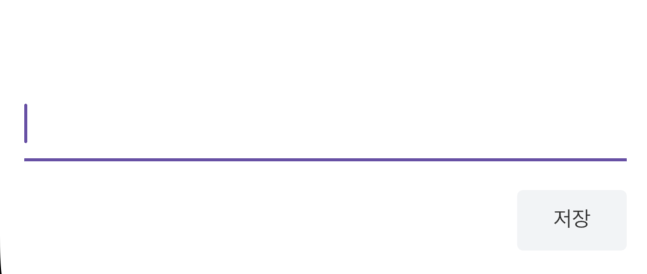
기존의 TextField를 사용하니 이쁘지가 않아서
스타일을 적용하고자 한다.
우선 textField widget을 만들어서 위치를 잡기 위해 Padding을 설정
color는 현재 전역으로 만든 textColor를 사용
Padding textField() { return Padding( padding: EdgeInsets.all(16.0), child: TextField( style: TextStyle(color: textColor), ), ); }반응형최대한 현재 어플의 스타일과 비슷하게 만들기 위해
배경색 및 테두리 작업을 진행

textField의 경우 InputDecoration을 활용하여 style을 넣어줄 수 있다.
hintText 와 hintStyle을 활용하여 placeholder 설정을 할 수 있고,,
filled를 true로 하면 입력창의 색을 지정해줄 수 있다.
border를 활용해 border color를 지정할 수 있으며, border 색을 지정하지 않을려면 BorderSide.none을 하면 border 색을 지울 수 있다.
Padding textField() {
    return Padding(
      padding: EdgeInsets.all(16.0),
      child: TextField(
        decoration: InputDecoration(
            hintText: '0',
            hintStyle: TextStyle(color: textLightColor),
            filled: true,
            fillColor: buttonColor,
            border: OutlineInputBorder(
              borderRadius: BorderRadius.circular(8.0),
              borderSide: BorderSide.none,
            )),
        style: TextStyle(color: textColor),
      ),
    );
  }
이후 커서 색상을 변경하기위해
전역으로 cursorColor색상을 지정
return MaterialApp( debugShowCheckedModeBanner: false, theme: ThemeData( textSelectionTheme: TextSelectionThemeData(cursorColor: mint), ),728x90반응형'Application > Flutter' 카테고리의 다른 글
[ Flutter ] 금액 formatter 설정 (0) 2024.07.20 [ Flutter ] 팝업에서 입력값 리스트에 추가하기 (1) 2024.07.20 [ Flutter ] showModalBottomSheet 화면 하단 팝업 (0) 2024.07.11 [ Flutter ] InkWell 제거 (0) 2024.07.10 [ Flutter ] ExpansionTile 확장 리스트 (0) 2024.07.10